How to make an exam seating plan that keeps classes and paper versions apart
It is the afternoon before the exam. You have a list of 54 candidates exported from a spreadsheet, three versions of the paper, and two rooms of thirty desks. The list is in the order people signed up, so if you seat them as they come, whole blocks of the same version sit side by side. Doing it by hand in Excel takes an hour, and then someone tells you a desk in the second room is broken.
This guide explains what a good seating plan has to do, whatever tool you use, and then shows how to make one in a few minutes with the free exam seating plan generator.
What a good seating plan does
- Neighbours sit a different paper. Candidates side by side and one behind the other should not share a class, a paper version or a subject. If desks are close together, check the diagonals too.
- It starts from the real room. Count rows and desks as they stand on the day, then take out the invigilator's desk, broken desks and any seat next to a door or a window you want empty.
- Seats are numbered from the front. Candidates find their place quickly, and an invigilator can check a seat against the register at a glance.
- Plan, labels and register come from one list. If the seating plan says seat 14 and the desk label says seat 15, you lose the first ten minutes of the exam.
- A late change takes minutes. Someone withdraws, a room changes, a desk breaks: you should be able to redo one room and print it again, not start over.
How many versions do you need? Two versions in a checkerboard keep sides, front and back apart, but diagonal neighbours share a paper. Keeping diagonals apart as well takes four versions, because every block of 2 × 2 desks then needs four different papers. And whatever the number, a version that holds more than about half the candidates in a room cannot be kept fully apart there: spread it over several rooms or add a version.
Step by step with the free generator
The generator runs in your browser, needs no account and seats up to 200 candidates in up to 20 rooms. The list is not stored.
1. Upload the list and match the columns
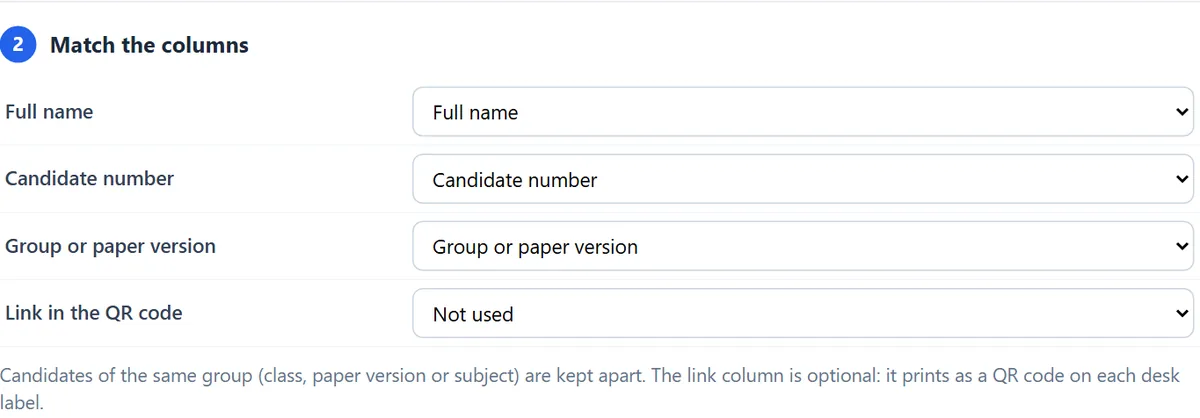
Upload an Excel or CSV file with the column names in the first row, or start from the sample file. Then tell the tool which column holds the name, the candidate number and the group to keep apart: the class, the paper version or the subject. A column of links is optional; it prints as a QR code on each desk label, for example the candidate's sign-in link for a computer-based exam.
2. Set out the rooms
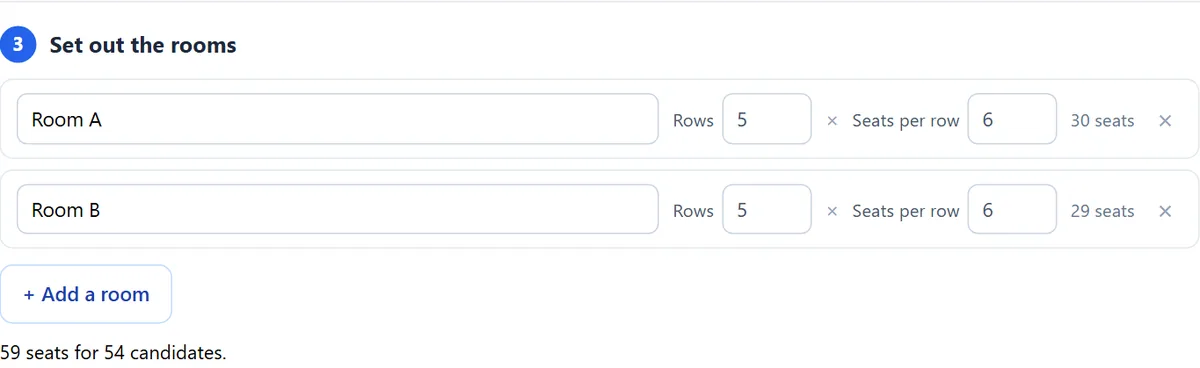
Add one line per room with its rows and seats per row. The tool adds up the seats and tells you if there are fewer seats than candidates.
3. Choose how to seat them
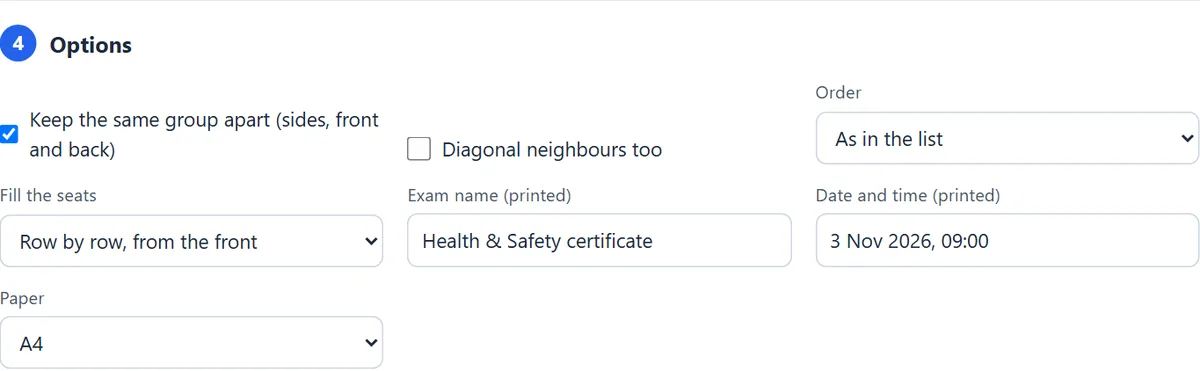
Keep the same group apart at the sides, front and back, and tick diagonals if the desks are close. Choose the order (as in the list, by name or random) and how the seats fill: row by row from the front, row by row turning at each end, or column by column. Type the exam name and date to print on every page, and pick A4 or Letter.
4. Check the plan and leave seats empty
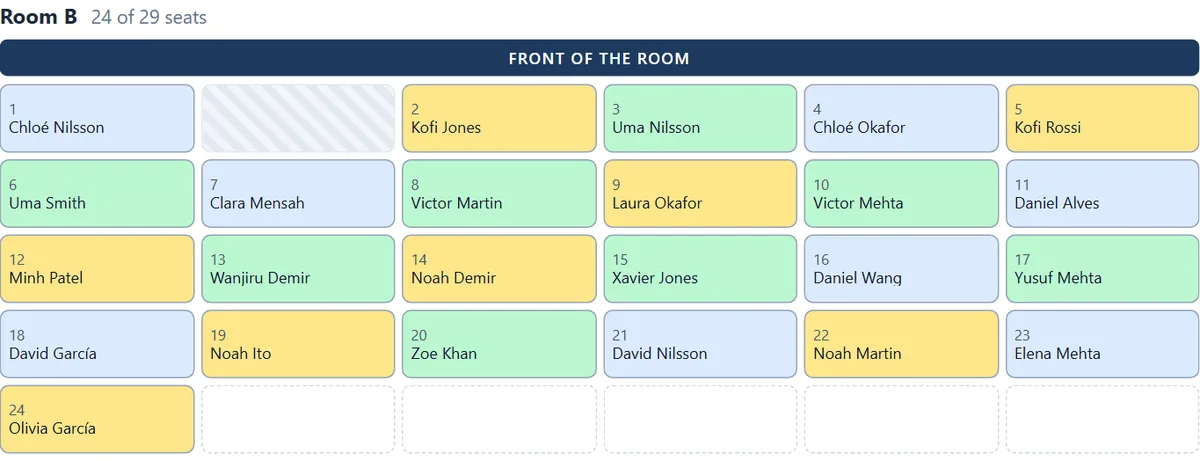
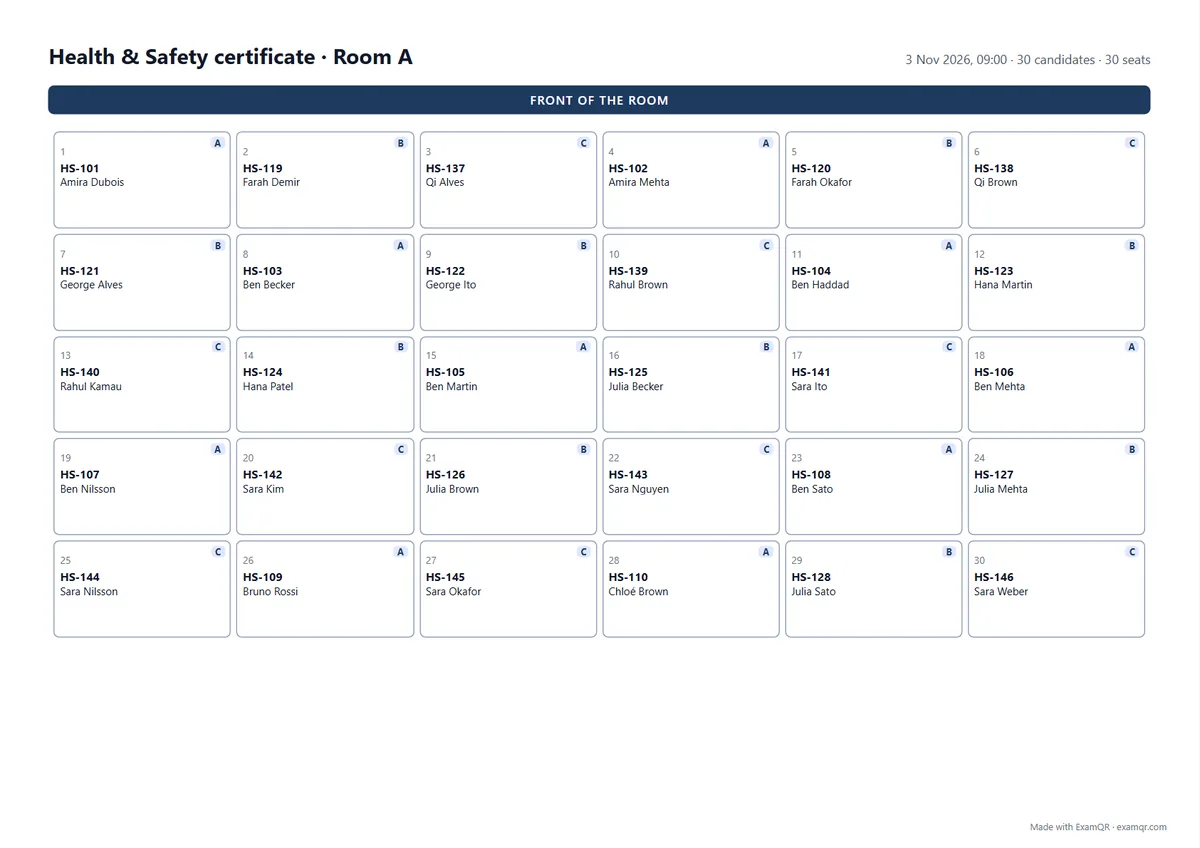
The preview shows each room as seen from the front, one colour per group. Click a seat to leave it empty, for a broken desk or the invigilator, and the room is seated again at once. Below the rooms, the tool says whether any neighbours share a group and outlines them in red. If you do not like the result, Shuffle again gives another valid plan.
5. Print the plan, the labels and the register
Each printout comes from the same seating, so the numbers always match. Print them or download PDFs:
- Seating plan: one page per room, as seen from the front, to pin on the door and give to the invigilator.
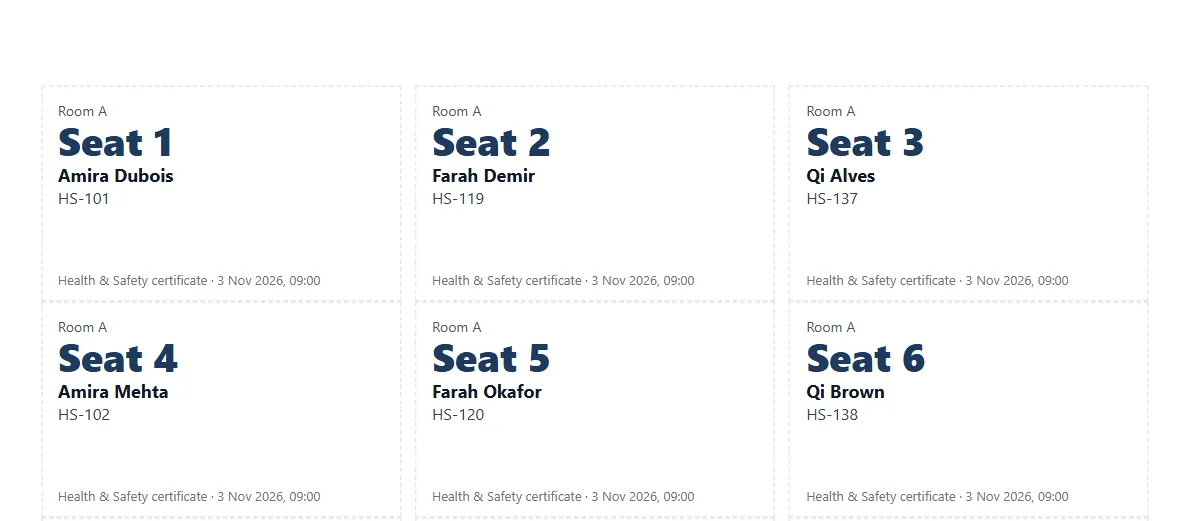
- Desk labels: seat number, name and candidate number on standard label sheets (A4 3 × 7 or Letter 2 × 5). Print them at 100% scale, not "fit to page", or they will not line up with the labels.
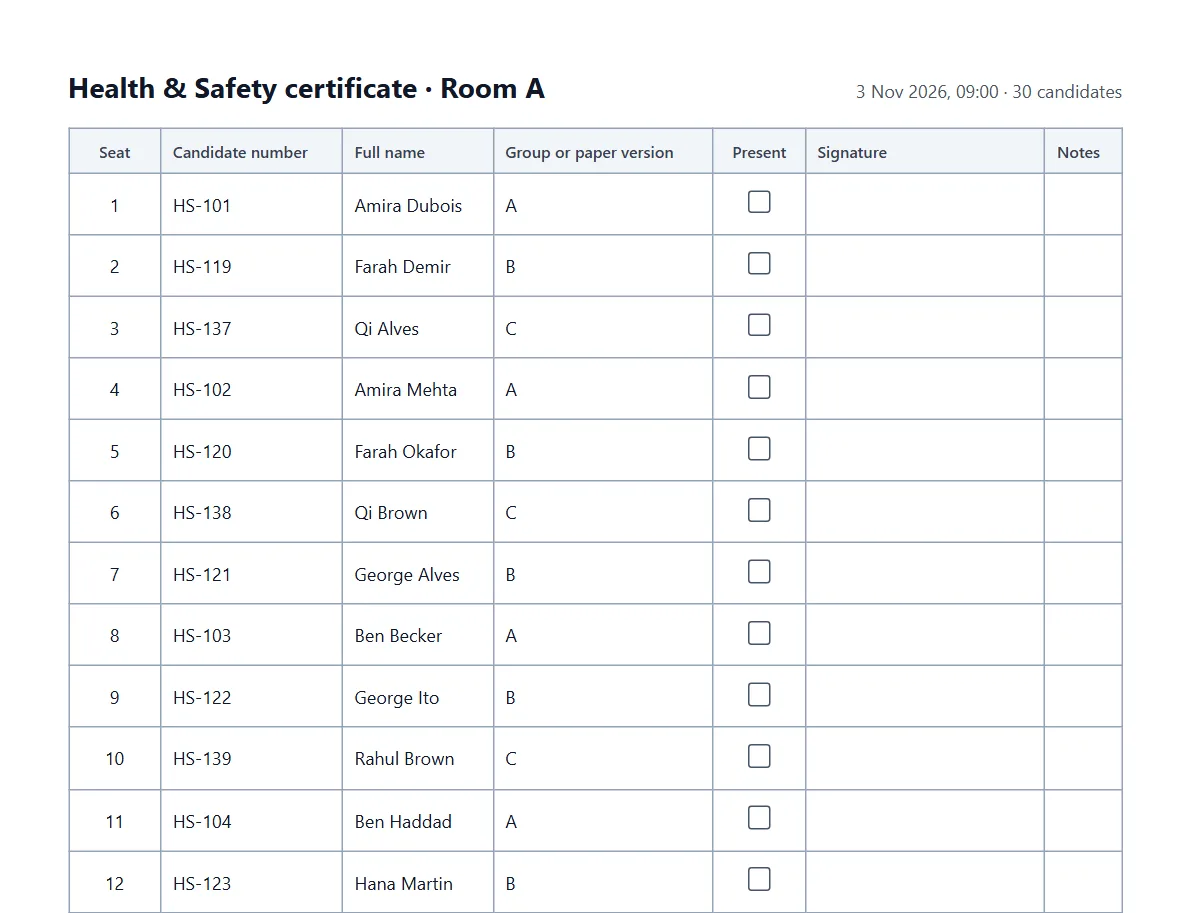
- Attendance register: one list per room with columns to tick attendance and sign, and a line for the invigilator.
Common mistakes
- Seating in list order. Lists exported from a sign-up form or a class roll group the same people together. Choose random or by-name order, and let the tool keep groups apart.
- Counting desks from the floor plan. Rooms change. Count on the day before and leave out what cannot be used.
- Printing labels scaled to fit. The labels drift off the sheet. Use 100% scale and turn off the browser's headers and footers.
- Editing the plan by hand after printing. The labels and register then no longer match. Change the room in the tool and print that room again.
If the exam is on computers
When candidates sit the exam on computers in those rooms, Excel for ExamQR downloads the seated list in the layout ExamQR imports, with each candidate's room and seat number. You can then run the exam on your own network with the offline exam server, or online, and make the paper versions themselves with test shuffling.
Questions
Is it really free? Yes, with no account, for up to 200 candidates at a time. Printed pages carry a small "Made with ExamQR" line.
Is my candidate list stored? No. The file is read to show its columns and the list stays in your browser; printing sends only the names and seats needed for the pages.
What if one class is much bigger than the others? When a group is more than about half of a room, some of its candidates have to sit together. The tool says so and outlines those seats, so you can move part of the group to another room.
Can I seat more than 200 candidates? Split the list by session or by building, or sign in to ExamQR to seat more at once.
Try it now with your own list: open the exam seating plan generator.